


Refresh Bathroom Vanity

Home
DIY, Home Décor, Holidays + Hosting
Bathroom Update + How to Paint Laminate Cabinets
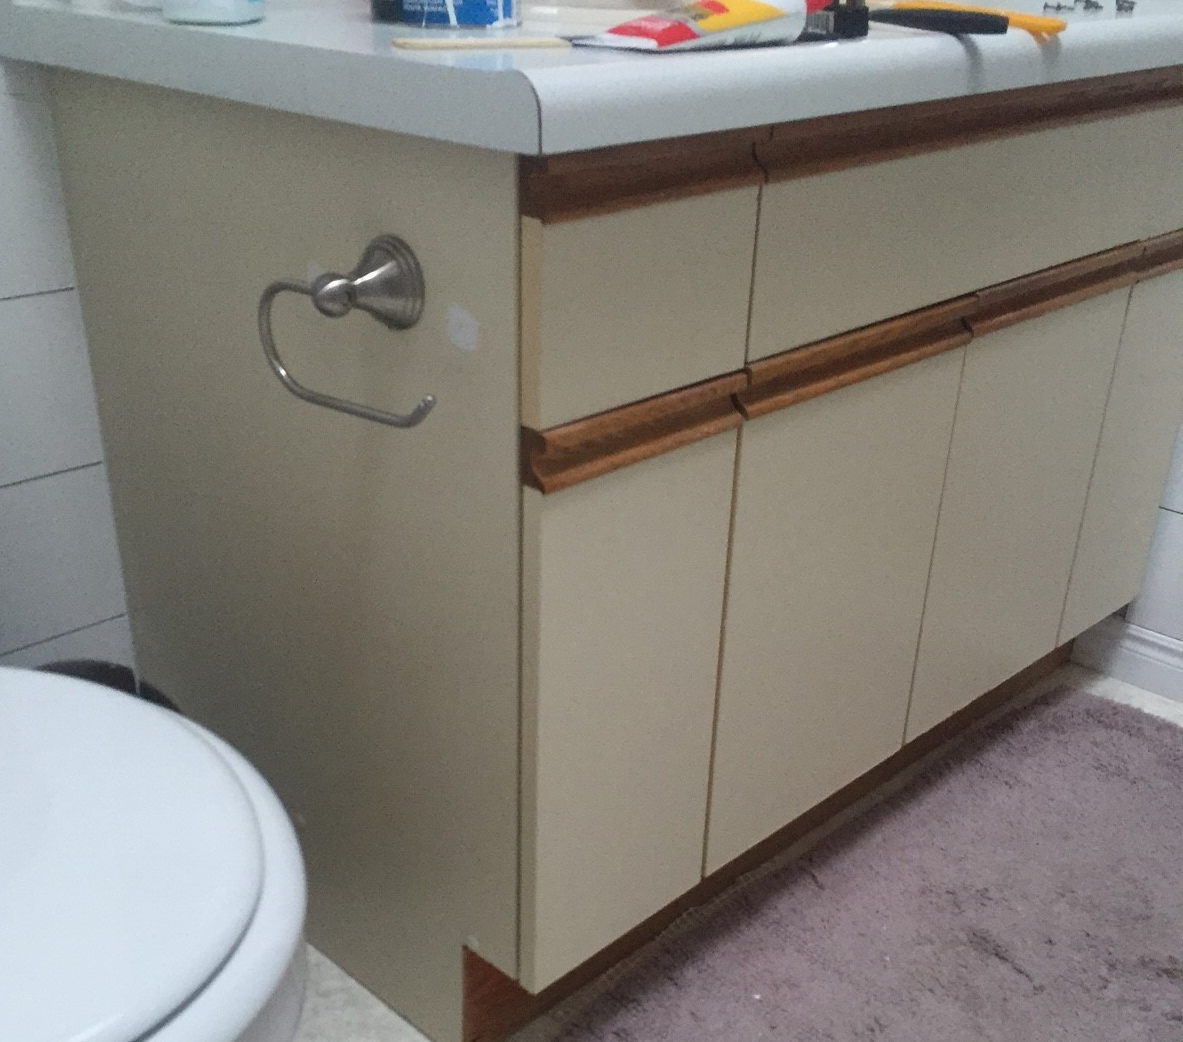
Well, it has been a few weeks since I completed my shiplap bathroom project and I have been loving the new look of my bathroom! With one exception--the vanity. I thought I could live with the laminate cabinets and countertop BUT I was wrong. The bathroom did not seem complete with the dated looking vanity and since we aren't ready to replace it, I decided to paint it. Shocker, right :)

Rather than use chalk paint like I usually do, I looked into how to paint laminate. Essentially all it requires is that the surface is primed first and then you can use any paint of your choice. Some tutorials will suggest oil-based paint but I went with Behr Marquee that is typically used for walls. This provides endless colour options and is much cheaper than chalk paint!
I started by removing all of the cabinet doors and priming. I had Zinsser Bullseye primer on hand which is the BEST primer. It adheres to anything and everything.

I applied two coats using a foam roller and a bristle brush on the wood handles.


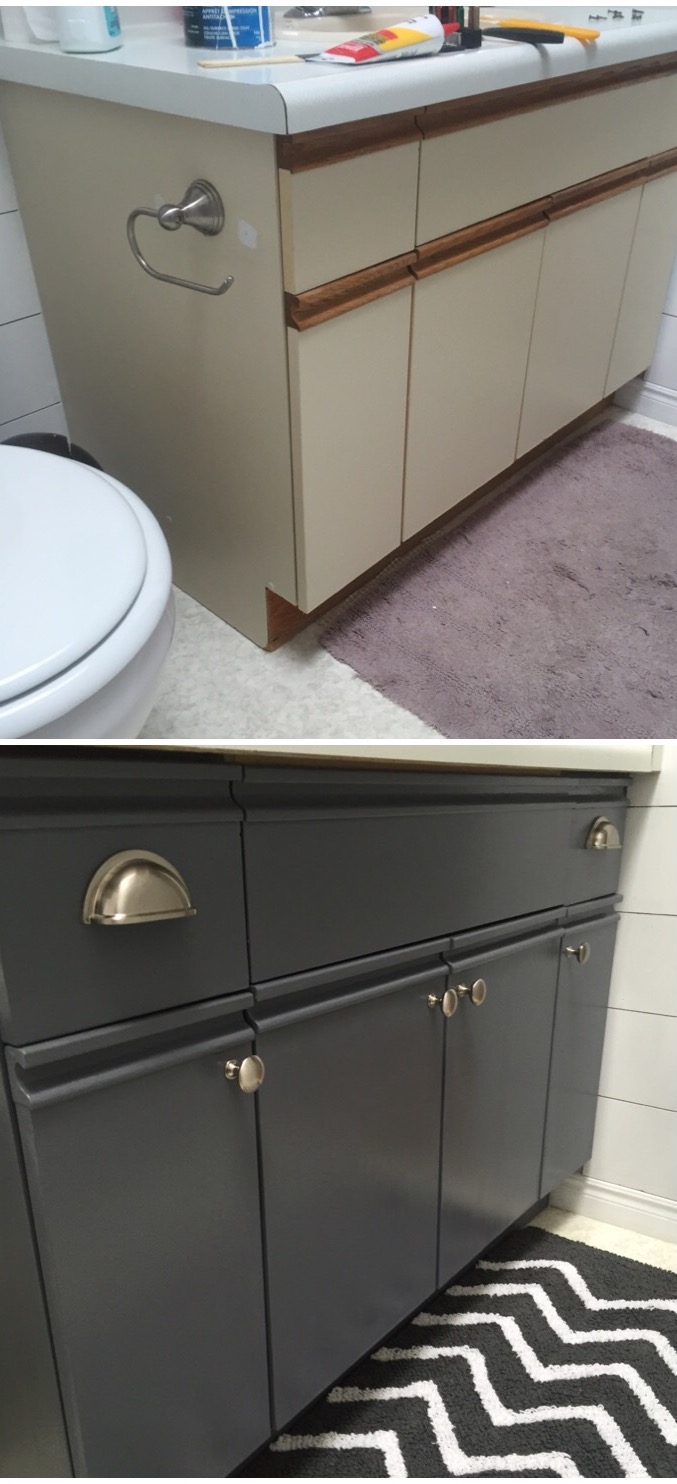
I purchased a sample of Behr Marquee in Liquid Mercury from Home Depot for $5 which is enough to cover the entire vanity!!Can't beat that!

I again used a combination of a foam roller and a bristle brush to apply the paint.

I finished the cabinets by applying clear polyurethane with a bristle brush which I did to seal my kitchen cabinets as well.

I also added hardware to the cabinets. I went with a classic metal pull for the drawers similar to what I used in the kitchen and a simple brushed nickel knob, both from Home Depot.

New bath mats from Homesense.

I also added some pretty drawer liner to the inside of the cabinets to freshen up the insides

As you can see, my basket of toiletries is super organized :)
Since my original bathroom post, I also added a towel bar and toilet paper roll holder, painted the door and replaced the door knob.

It may seem like a lot of updates therefore a lot of money spent, but I assure you that everything has been completed in the most cost efficient way. I love hunting for a good deal when I do decide to replace items and I love completing the work myself. That being said, what usually starts out as a simple project/update often snowballs into a bigger one. Now that the vanity has gotten a facelift, I decided to replace the sink and faucet. The bone coloured sink and old faucet had to go!!
(Below is an update since my original post)


I purchased a new sink from Home Depot and the faucet was 50% off at Lowes. I am so in love with my new sink and faucet. It is slightly ridiculous how happy this has made me!

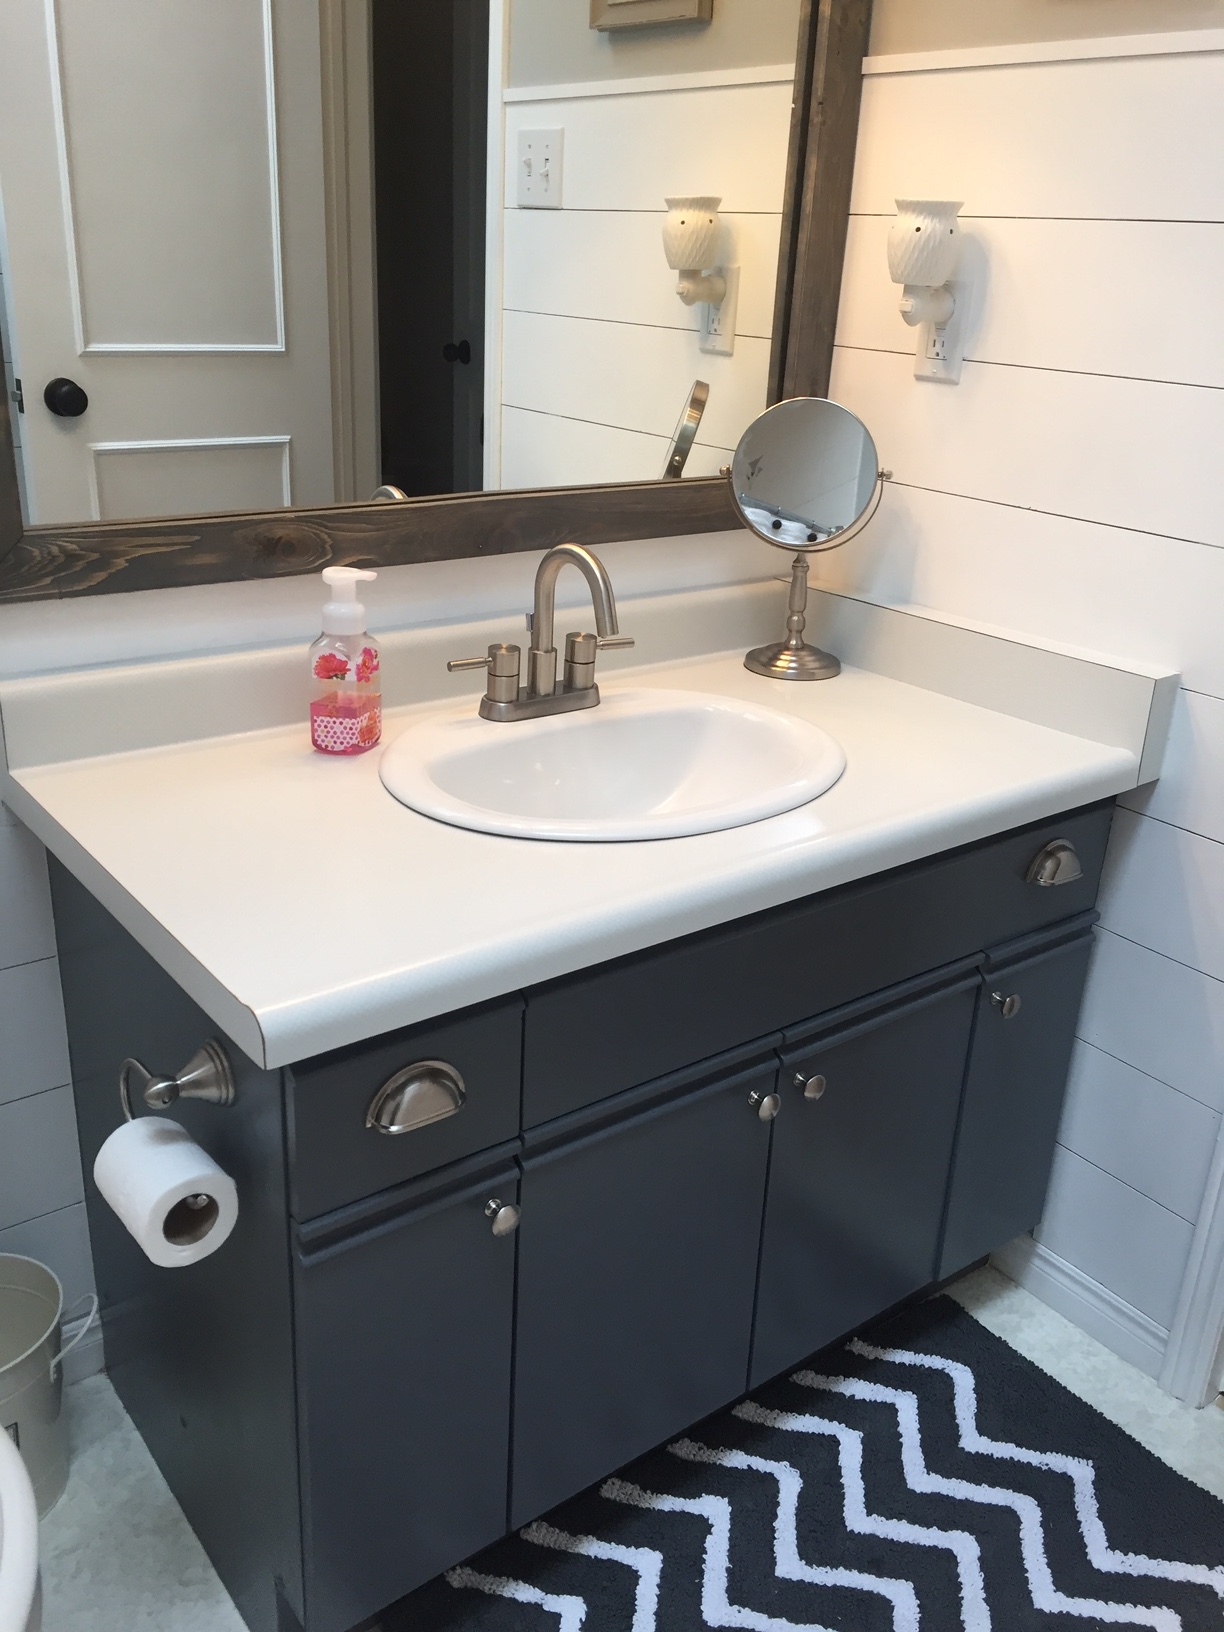
Huge shout out to my boyfriend for his time, energy and patience installing it. It became a much more complicated process than what we expected but it's finished and looks great! I had considered replacing the countertop as well but that will have to wait. The bright white sink makes a world of difference with the current countertop. Who knows, I might even try painting it since I paint EVERYTHING :)
Since I originally completed this bathroom makeover in 2016, I have also added a DIY industrial style shelf, stenciled the laminate floors and made some DIY wall art. I even painted the tub and tile surround. Check them out in the links provided or head to the project gallery for more of these updates :)


DIY Wash Sign

DIY "X O" print

DIY stenciled laminate flooring


Source: http://www.thepennydrawerblog.com/new-blog/2016/4/23/how-to-paint-laminate-cabinets


Tidak ada komentar:
Posting Komentar